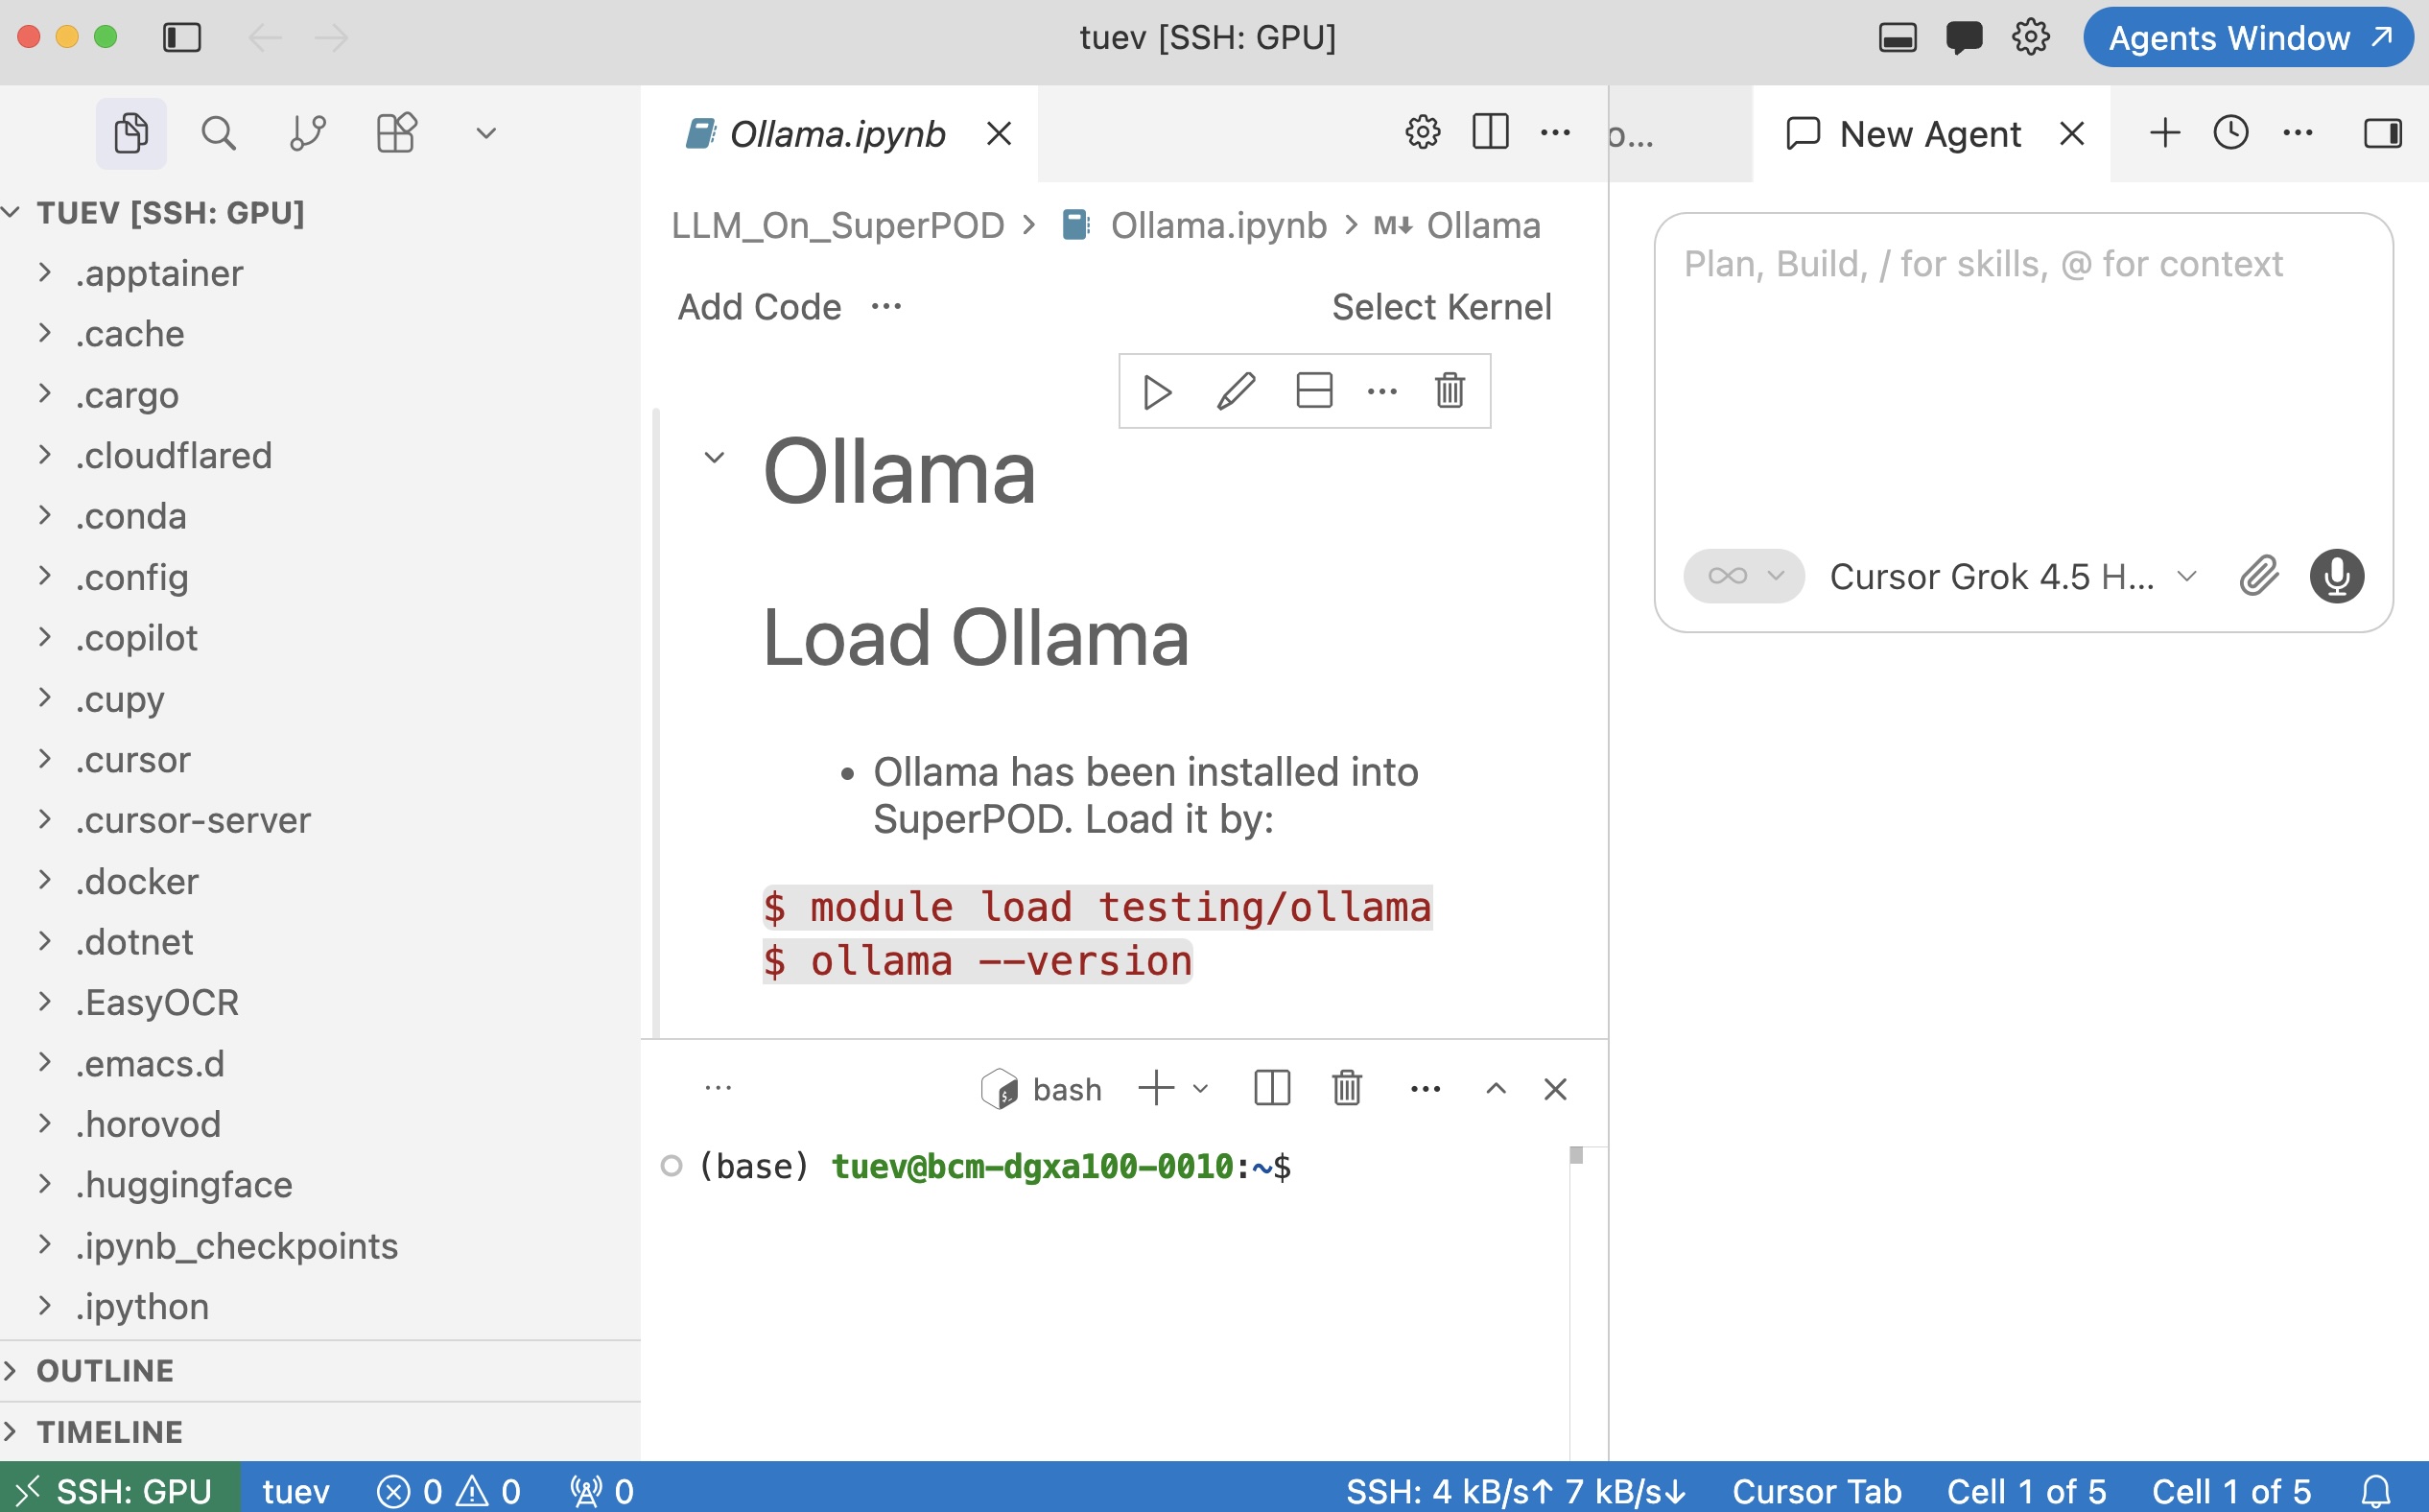
Jump Host with Cursor/VSCode

Introduction
- Cursor and VSCode are great IDEs for programmers who want AI-assisted features with Agent mode. They work well for local (offline) work on your laptop.
- On an HPC system, things are different. You usually cannot SSH directly from your laptop into a GPU compute node. You first land on a login node, then move to a compute node where the real work (and JupyterLab) should run.
- To make Cursor/VSCode reach that compute node in one step, you use a feature called Jump Host (also called a bastion host, or
ProxyJumpin SSH).
What is a Jump Host?
- A Jump Host is an intermediate server that you are allowed to connect to first. From there, SSH “jumps” you to a second machine that is not open to the public internet.
- Think of it like airport security: your laptop is outside the building, the login node is the front desk you must check in at, and the compute node is the lab inside that only staff can enter after check-in.
- On SMU SuperPOD HPC, a typical path looks like this:
Your laptop  -->  login node (Jump Host)  -->  compute / GPU node
                 (e.g. superpod.smu.edu)     (e.g. after srun / salloc)
- Without a Jump Host, Cursor Remote-SSH would try to open a direct connection to the compute node and fail, because that node is behind the cluster firewall.
- With a Jump Host configured, Cursor opens one SSH session that automatically hops through the login node, so you can edit files, use the terminal, and attach to JupyterLab as if the compute node were local.
Why Jump Host matters for JupyterLab on HPC
- JupyterLab (or a notebook kernel) on HPC should run on a compute node, not the login node. Login nodes are for light tasks (editing, submitting jobs); heavy Python/GPU work belongs on allocated nodes.
- Cursor/VSCode Remote-SSH needs a stable SSH path to that compute node so it can:
- open your project folder on the cluster
- run the integrated terminal on the same node as your GPUs
- connect to a Jupyter server you started there
- Jump Host is the SSH setting that makes that path reliable.
Remote-SSH
- Remote-SSH is a Cursor/VSCode extension that runs the editor over an SSH connection to another machine.
- You can download Remote-SSH from Extensions from both Cursor and VSCode
Step by Step for Jump Host
From terminal, ssh to HPC:
$ ssh username@hpc
- You will be placed into a login node. Request for a compute node, the configuration below can be changed according to your need.
$ srun -A my_allocation -N1 -G1 -c10 --mem=64G --time=12:00:00 --pty $SHELL
- You will be given a compute node. Keep this session opened and open a new Cursor/Window.
- Click File\New Window (Ctrl+Shift+N)
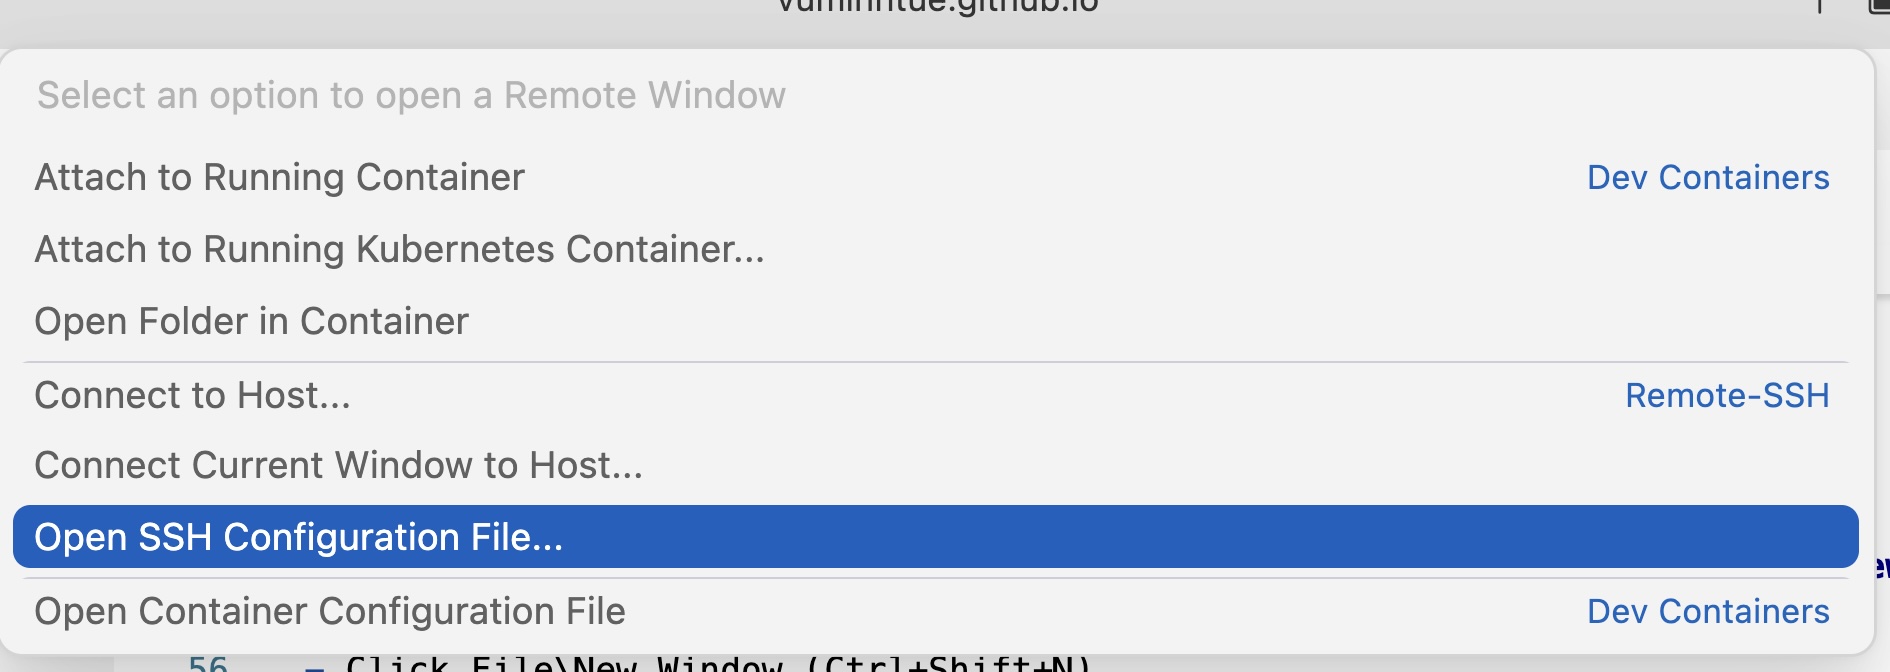
- Connect to a Remote Host:
- Press Ctrl+Shift+P/or click Connect via SSH to open the Command Palette
- Type “Remote-SSH: Connect to Host…“ and select it
- Click “Configure SSH Host …“ to open config file
- Enter the following script to the config file:
Host HPC
    HostName hpc.edu
    User username

Host GPU
    HostName compute-node
    User username
    ProxyJump HPC
- Note:
- HostName is the login node of your HPC system, or it can be IPaddress
- username is your own username for your HPC system
- compute-node is the compute-node name after you requested for a compute node
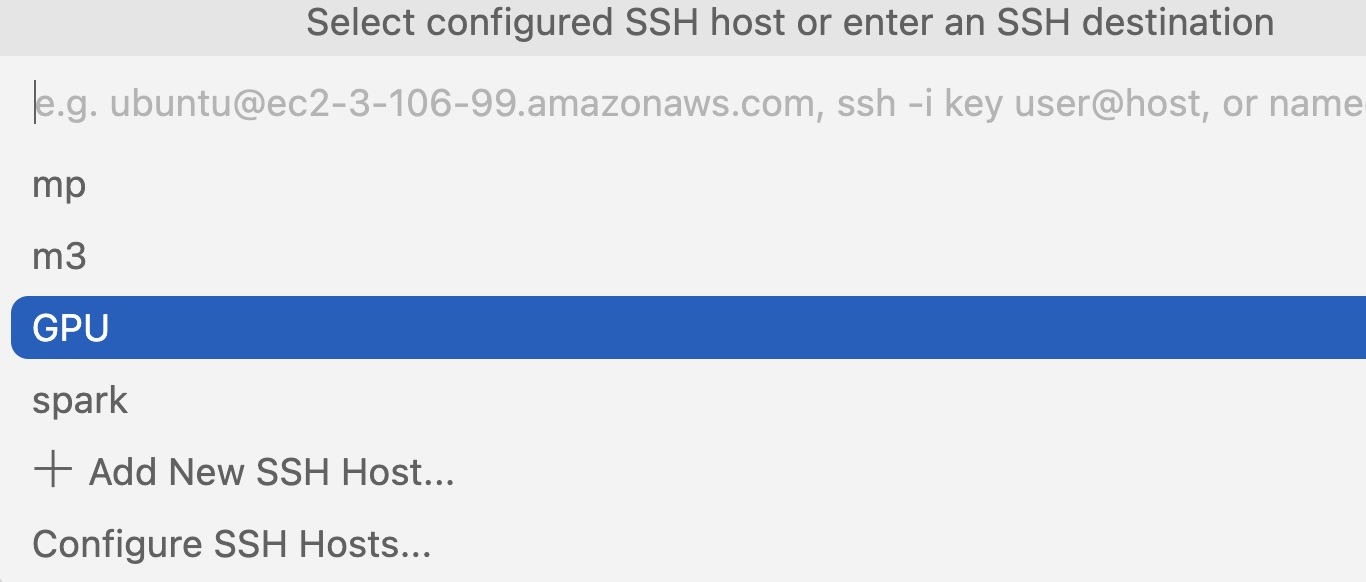
- Click on Connect to GPU
- (Select Linux for Select platform of Remote Host GPU)
-
Enter Password and Duo (2FA) for login node and Password again for Compute node.
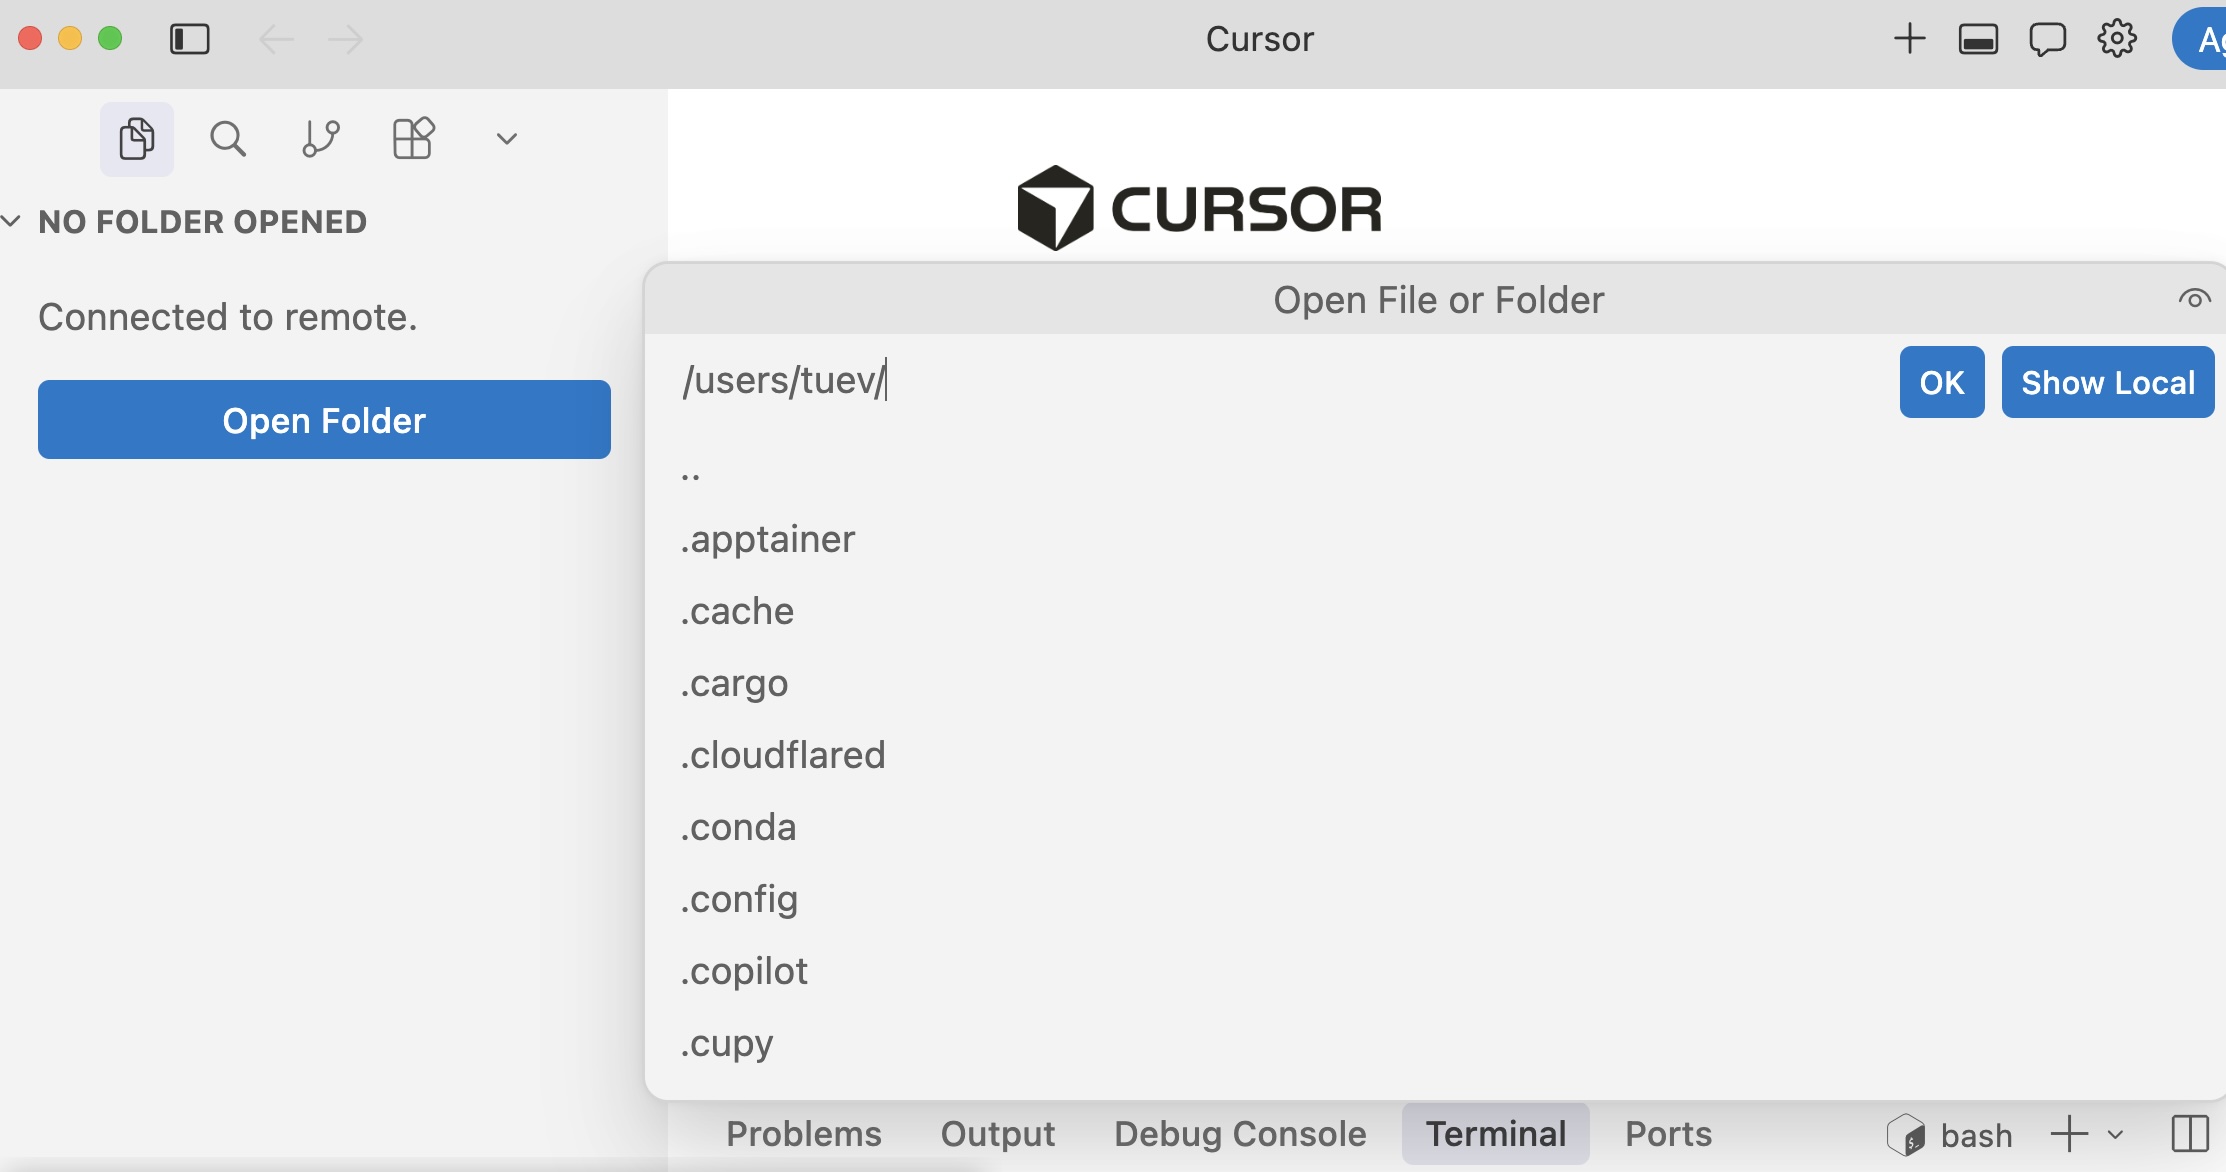
- You can also select to browse the files on HPC and enter Password/Duo to authenticate it.
- Once authenticated, you can work with any Jupyter Notebook from the HPC directory